
For those who haven’t been in the RVing world, there are two basic types of refrigerators. “RV” (also called “absorption”) refrigerators, and “residential” refrigerators. The RV refrigerators work by heating ammonia to turn it into a gas, and can be powered by 120V household electricity or propane. Residential refrigerators work by compressing a gas, and only run on 120V electricity.
When we were starting out, we knew that we’d be boondocking a lot, so we chose an RV unit so we could use propane instead of our precious solar electricity.
RV refrigerators are notoriously finicky, and have very little extra cooling capacity to bring new “occupants” down to temperature. Also when they are run on electricity, they are MUCH less efficient than a residential refrigerator. Hey, we were new to the RV world. We didn’t know.
So… is it a refrigerator when the temperature on some days doesn’t stay below 42 degrees? Is it a freezer if the ice cubes can take more than a day to freeze (but they eventually do) and the ice cream is more like a gelled soup? Granted: some (many) of the days were over 110°, but still.
We finally decided to scrap the RV refrigerator and replace it with a residential unit. Remember: what you buy from a dealer is an “RV kit,” which you then modify and tinker with until you get the RV you want. It is a never ending process.
So, herewith the tale of the Great Refrigerator Swap of 2020.
Perhaps the greatest constraint on the selection of a new fridge was its size, especially its depth with the doors and hinges off. Some people change refrigerators by removing a window from the side of the RV and passing it through. This requires many people, and violates the integrity of the RV’s exterior seal—will you really get it reinstalled so that it is weather tight? In these days of COVID-19, gathering a bunch of friends to help with a project is much more difficult than before, and besides, all our friends were smarter than we were and had left Arizona for the summer! So we needed to bring it through the door. Just inside the door is a cabinet and counter, that we would need to angle around. By using a template, we figured we needed a unit that was no more than 23″ deep, and about 34″ wide.
After identifying a couple of possible candidates on the web, we read through their on-line reviews. It turned out that none of the possibilities had stellar reviews. Oh, well. We went to the Home Depot in Yuma, looked at two, and settled on the Samsung Model# RF18HFENBSG-2.
Not in stock. (ALL of the candidate units were made of unobtanium.) But we could get it delivered by August 26th. GREAT!
An RV’s floor is a little over three feet off the ground. I’m doing this by myself; Kathe’s back will let her help a small amount, but NO LIFTING! How am I going to get this in the rig?
Plywood. Two by fours.
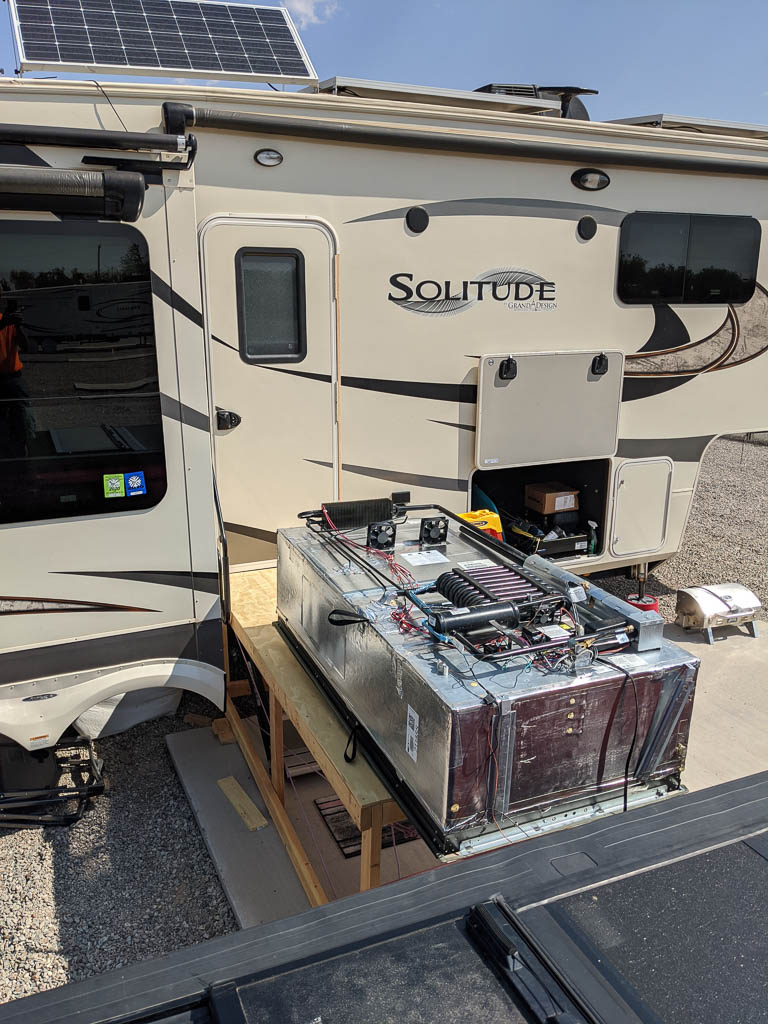
I built a 4′ by 8′ deck outside the camper about 3/4″ below floor height. The height was limited by the lower edge of the door which opens outward.
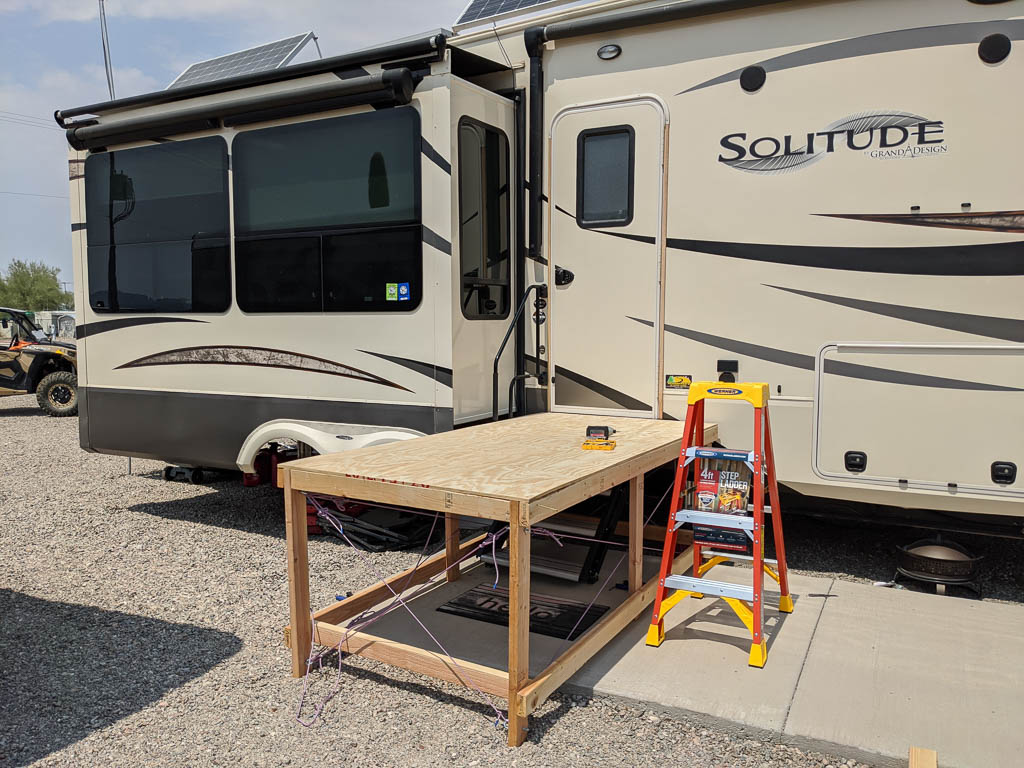
The Home Depot delivery truck had a lift gate on it, normally used to lower appliances to the ground. I had them back up to the deck and lower the fridge onto that, where I could remove the doors and hinges to make it narrow enough to slide in. We had somewhere between 1/8″ and 1/4″ extra space going through the door. Made in the shade!
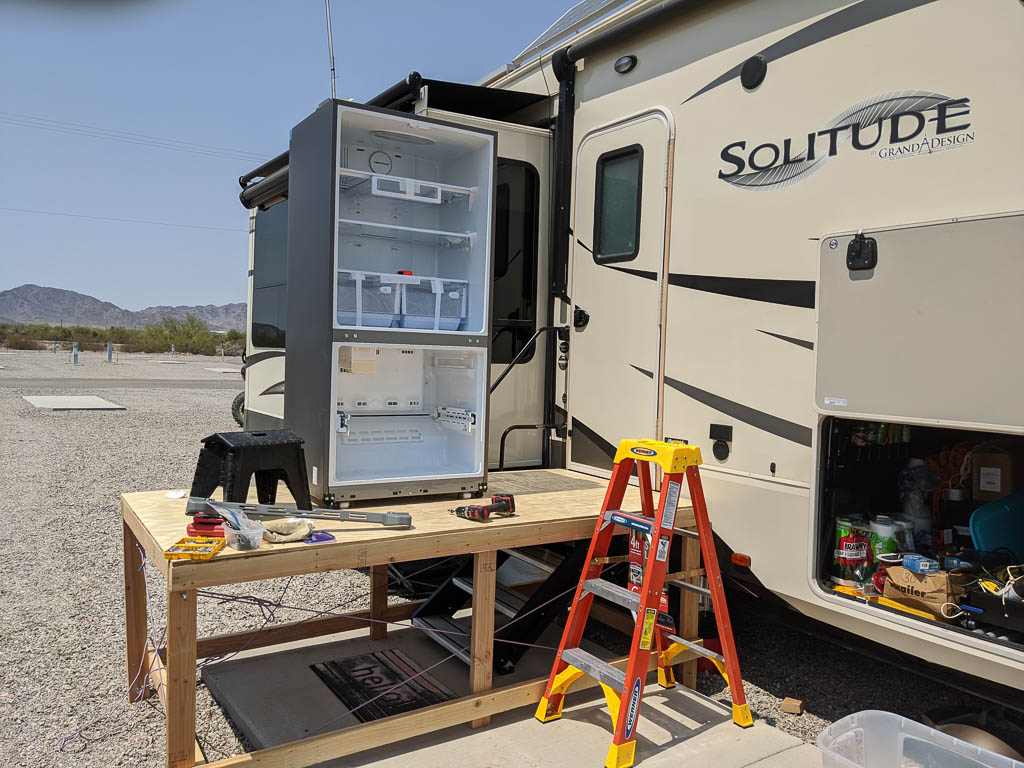
More plywood. I put 1/4″ sheathing (the cheapest plywood I could find) down on the floor in the camper, to protect the plastic flooring in our main living area.
Once we had the unit in the back of our rig (our “living room”), the doors went back on and we brought it down to temp. It was SO FAST in comparison!
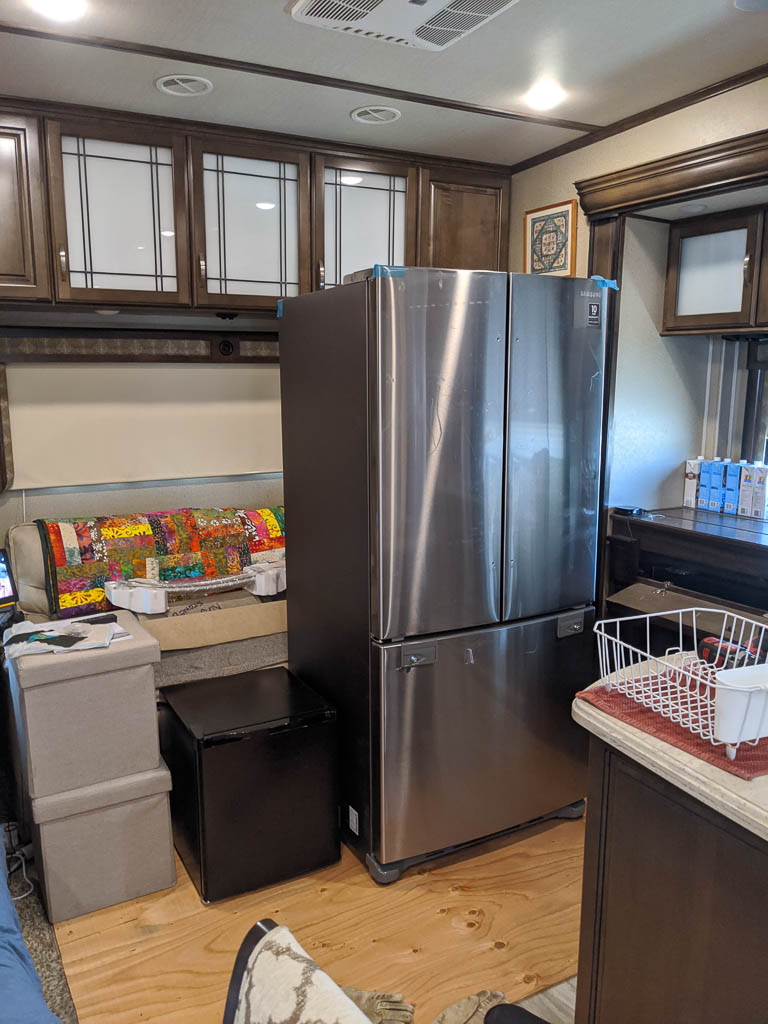
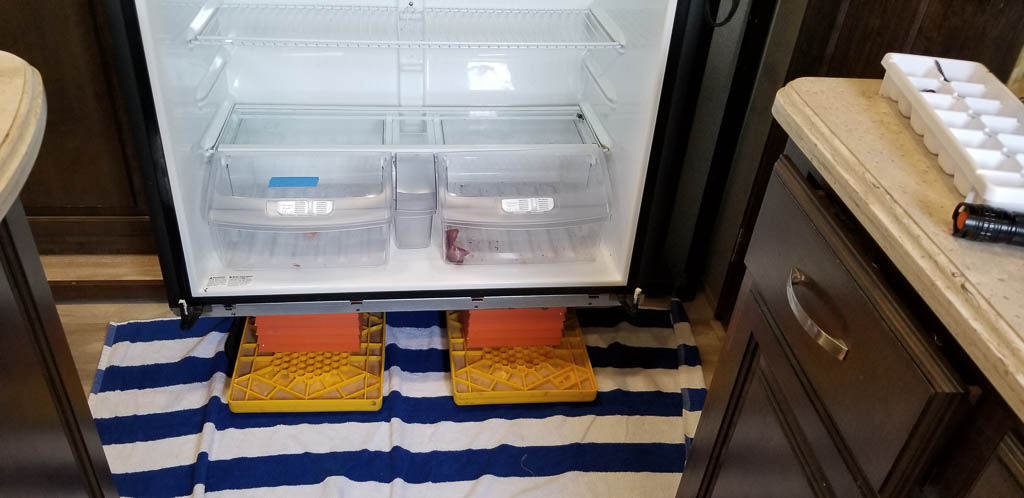
The small black cube in the picture is a tiny refrigerator we picked up to keep our critical items (leftovers, cold cuts, dairy, etc.) when we couldn’t rely on our large RV refrigerator.
Time to get the old refrigerator out of its home to make room for the new resident. Transfer all the food. Take the doors and hinges off. (Sense a theme here?) Re-plumb the propane: behind the fridge is a propane distribution splitting the feed to the refrigerator, the stovetop, and the oven. One-in, three-out had to change to one-in, two out. Fortunately a large RV parts store in Quartzsite remains open during the summer, so I could get the needed part locally.
The floor in the refrigerator bay is about 6″ above the main floor in the rig, so we used the blocks RVers use to level their rigs when the site isn’t particularly level. They look like huge Legos!
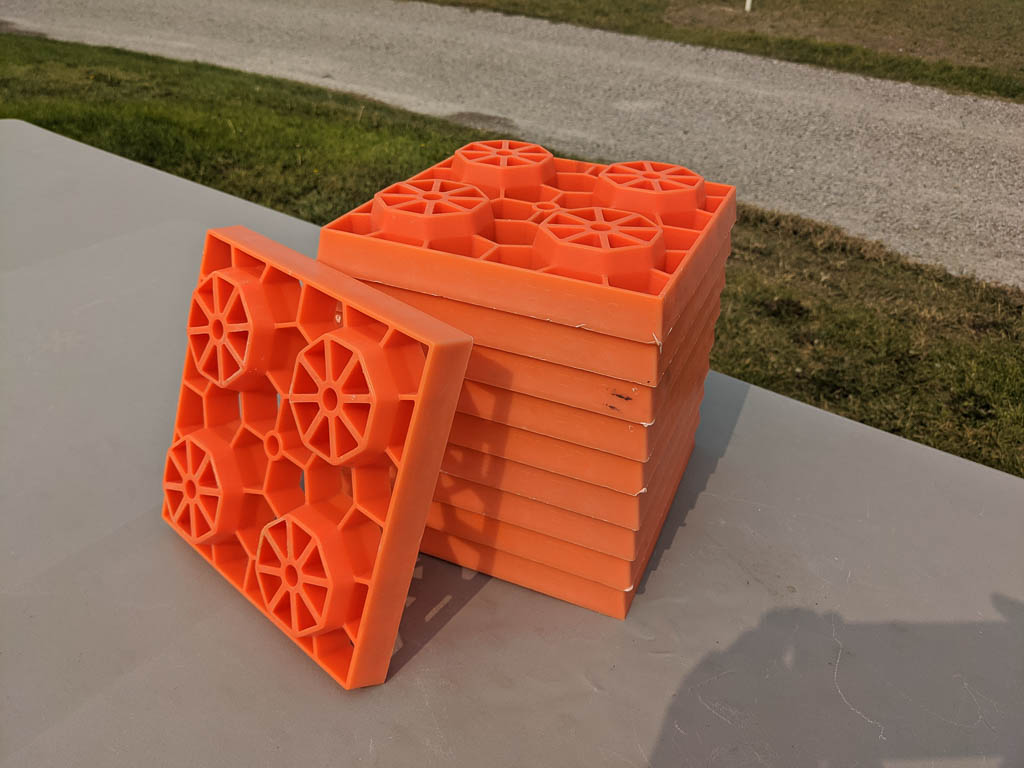
We slid the fridge out onto two stacks of blocks, and then by tipping the fridge back and forth we were able to remove the blocks one or two at a time, alternating sides.
Out with the old. Again we had a small fraction of an inch to spare when navigating it out the doorway. Slid it into the back of our pickup and thence to the Quartzsite transfer station.
You may have noticed in a previous post that we decided to buy a house in Montana. This happened after we had ordered the fridge, and the scheduled closing wouldn’t let me do what I wanted to do for a final installation of the new fridge before we had to leave Quartzsite. So I did a temporary one.
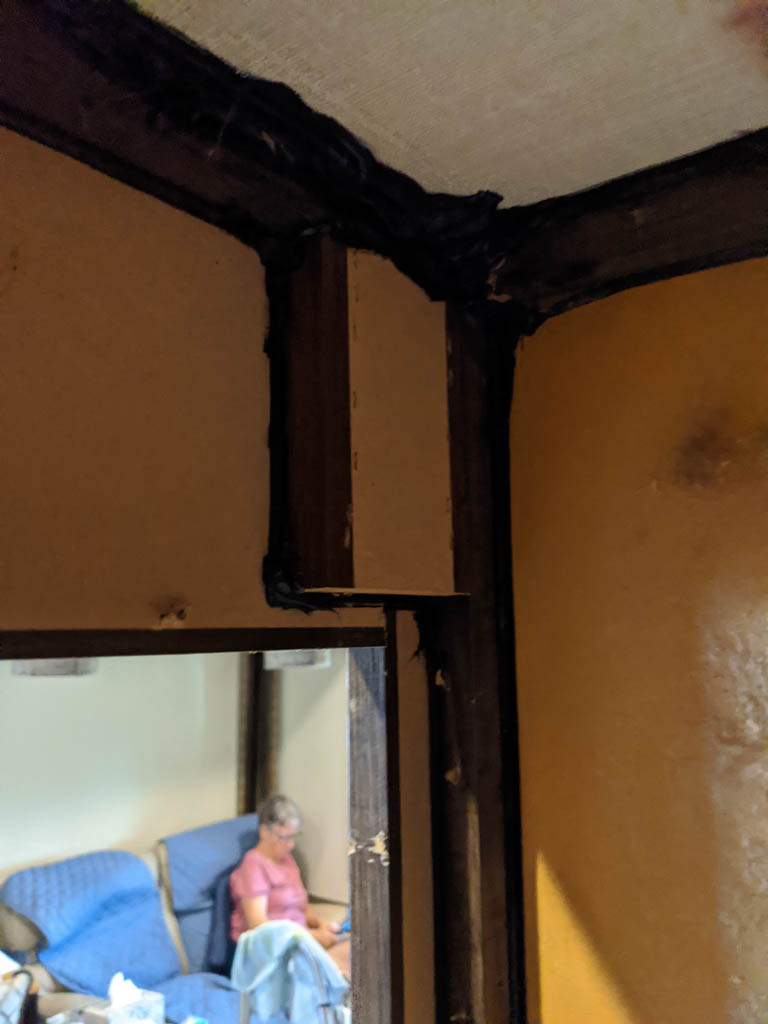
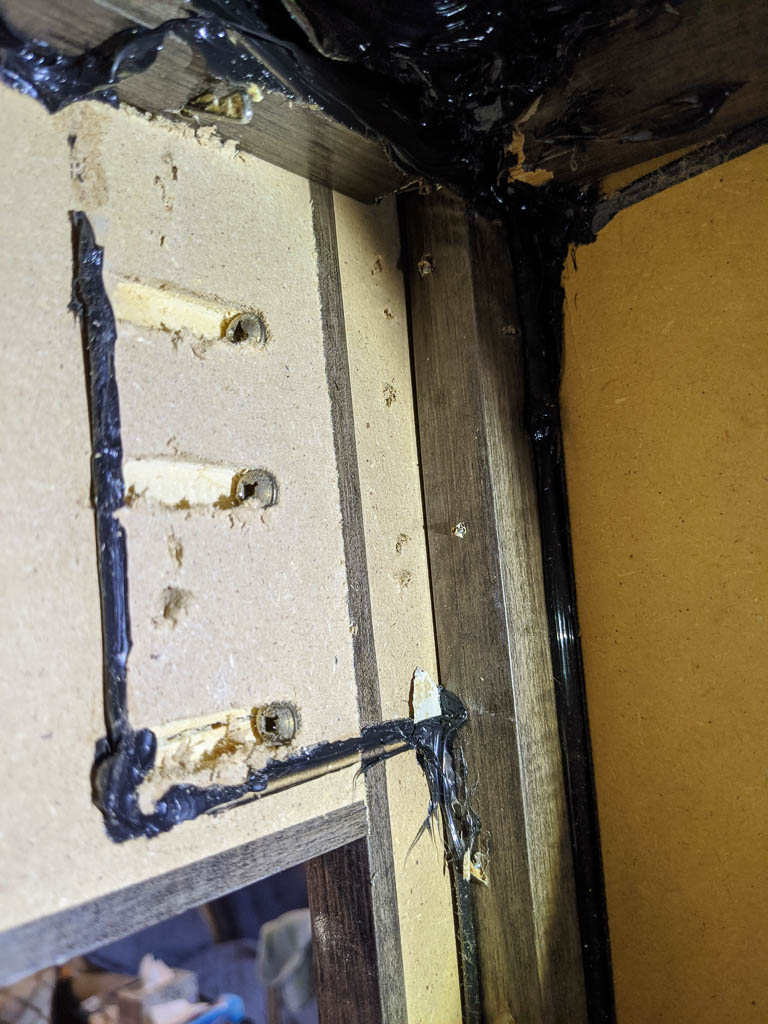
The new refrigerator was slightly taller than the old one, and I wanted to leave a space above it for ventilation. So before we could put the new unit in, I had to trim the top of the opening about two inches higher. There were 4″ reinforcing blocks behind where I needed to cut, and behind those were pocket screws. Once those were removed, the trim was easy.
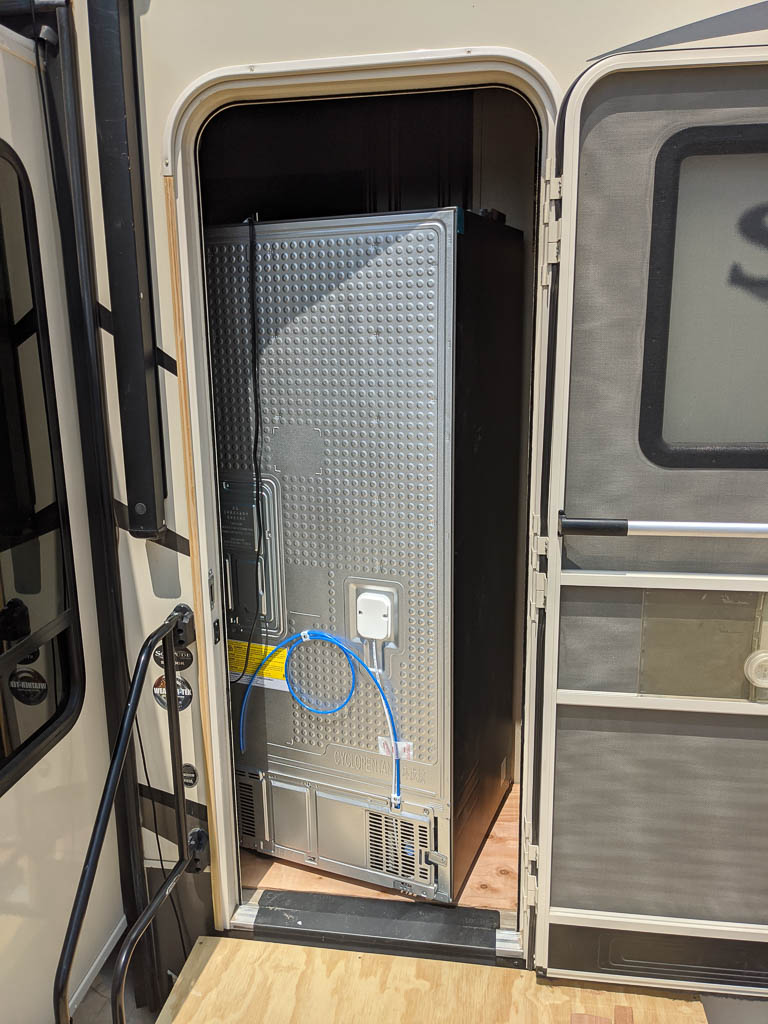
To move the new unit from the back of the rig, past the counter to the final location, we had to once again (say it with me) take the doors and hinges off. We used the same leveling blocks to raise the new refrigerator up to height, and slid it in place.
When originally measuring, I neglected to account for the propane distribution point, which prevents me from placing the refrigerator all the way back to the wall, and left the front feet hanging in the air. It works out well, though, as the refrigerator needs to have air flow behind it to dissipate the heat it has removed from the inside.
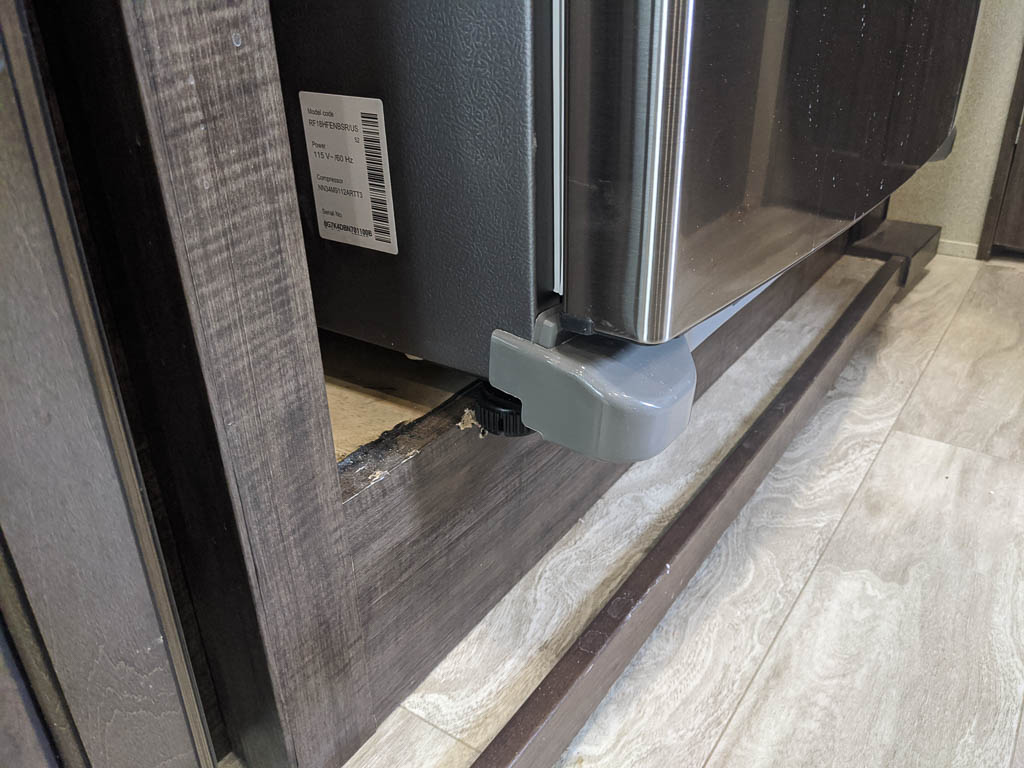
To keep the fridge off the back wall and propane hoses, I placed shims on the back wall. To level the unit without the front feet being supported, I shimmed the front with two two-by-four blocks, which happened to be exactly the right height. To keep the unit from tipping while we are traveling, I simply used a ratchet strap. It’s quick’n’dirty, but effective.
So we’re on our way to Montana with a new residential refrigerator! There are lots of things to fix and improve in a permanent installation, but I’ll tell you about those in another post.
It is SO good to have well-frozen ice cream!